Showing posts with label dry rub. Show all posts

Friday, November 12, 2010

The Pull of Pork

There is no denying that pork is an incredible and delicious variety of meat. Not only is it delicious, but it is relatively inexpensive and you can create so many tasty meals with it. It isn't very difficult or laborious to cook up some drool-worthy, melt in your mouth meat with a cheap chunk of pork. Using a tough cut like the shoulder, also called pork butt (don't worry, there are no asses involved), or a picnic roast, you can achieve some soft, succulent meat that falls apart from the mere poke of a fork. Some might protest the method of cooking I used, claiming that the only way to make pulled pork is by smoking it, but lets get real here. It's the middle of fall, and its fucking cold in the country. Fact. So, instead of having to go outside to change the wood chips in the smoker I don't have in my city apartment, I achieved delicious meaty goodness in the comfort of my overly warm home. By simply braising the pork shoulder in beer for a few hours, I created a tender piece of tasty that pretty much fell apart from looking at it real hard. That tender.


You will need:

- 3-4 pound pork shoulder/butt/picnic roast (will make about 6-8 servings)
- Paprika
- Chili powder
- Fresh ground black pepper
- Sea Salt or kosher (haha kosher salt and pork...)
- Dry mustard powder
- Garlic powder
- Onion powder
- A few bottles of Red or Dark Ale
- Vegetable oil
- Cider vinegar
- Worcestershire sauce
- Hot sauce 
- Bread-like vessel or tortilla wraps

First, rinse that pork shoulder and pat it dry with some paper towels. Then in a bowl combine all your dry spices with a fork. Then rub that flavour all over that pork. Rub it real good.


In a rather large pot or pan over medium-high heat, pour in a respectable glug or two of vegetable oil. If you have a dutch oven (heavy pot with tight fitting lid), you can use this for the whole cooking process. Once the oil is heated, get your pork in their and give it a good browning all over. This step is key in achieving optimal deliciousness.


Once that pork is all browned up, place it in an appropriately sized, deep oven safe dish or pan. If you have the luxury of a dutch oven, then just keep it in there. Pour a beer or two in the pan, then tightly seal the top with aluminum foil, or throw the lid on the pot. Now stick that sucker in an oven pre-heated somewhere around 250-300 degrees for 4-6 hours. Check on it at the 4 hour mark, and if its tender and can be pulled apart with a fork, its done. If not, leave it in longer, you really can't over cook this.


Once that pork is tender and falling apart, remove it from the oven and set it aside. Pour the liquid in a sauce pan if you need to, and get that shit rocking over a medium heat. You want to reduce the liquids by simmering away the water in it. This will make for a more bad ass flavour. When that sauce is simmering away, add a few splashes of cider vinegar, Worcestershire sauce and hot sauce. You can even add a bit of pre-made BBQ sauce if you feel the need. While the sauce continues to simmer, get to forks and start shredding that pork by inserting the utensils and pulling them away from each other. Shred it to your desired shreddedness, then toss all the meat into that sauce you've been reducing. Keep it cooking for a few more minutes, or until you just can't wait any longer.

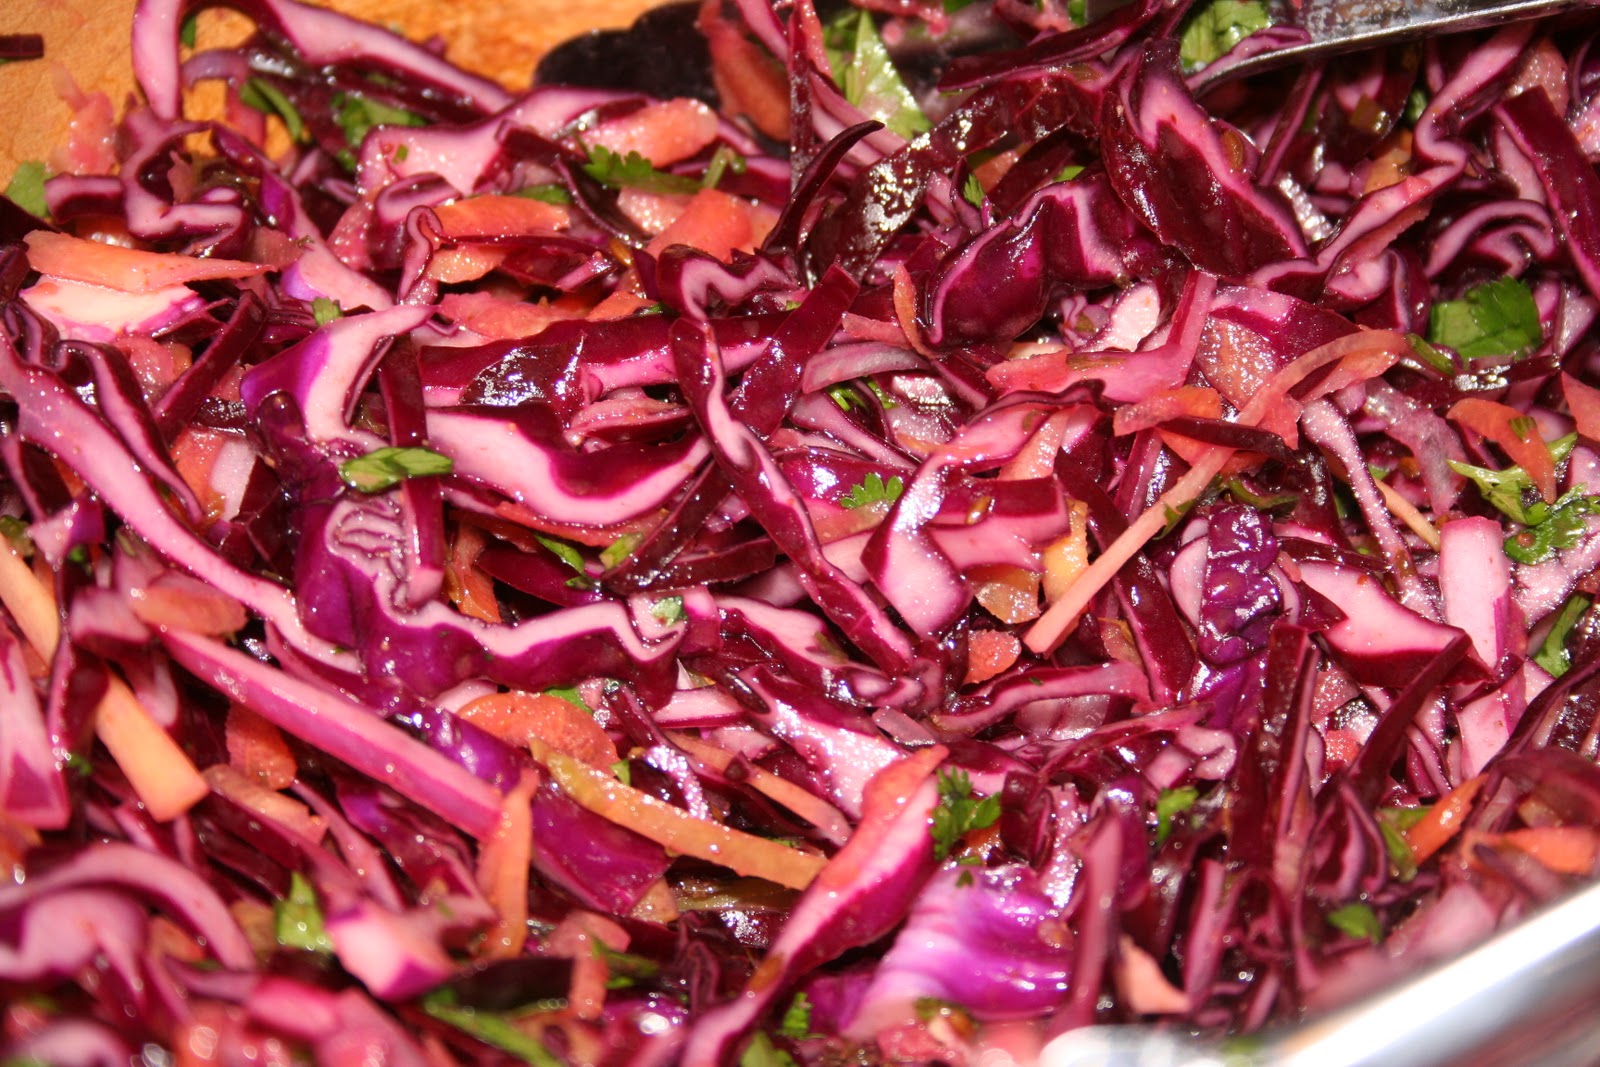


Serve that pork up on some nice buns, or in a wrap with some coleslaw on top, some pickles and some sort of potatoey goodness. Now you might ask yourself, gosh darn, why does this taste so delicious? Well, slow cooking does that by melting the fat and turning it into FLAVOUR! Also, pulling the pork apart exposes more surface area that will come in contact with your tongue, much like how shredded cheese is tastier than biting a chunk of the block. 


Note: In the coleslaw I added some fresh cilantro to mix things up a little bit, and it worked really well. If you like cilantro, definitely give it a try.

Wednesday, September 22, 2010

Straight From The Pig's Mouth


A little ways back Dave had a post that was inspired by many of the rib feasts I cook up during our university daze in the Brick'Tangle. Well the local grocery store had baby back ribs on sale and I couldn't resist the meaty goodness. Amazing ribs are extremely easy and actually require minimal effort, a little bit of technique, and a huge amount of passion for deliciousness. This is a very adaptable guideline and you can get super creative with it, but my special rib formula is pretty spectacular if I do say so myself and definitely worth a try.


First order of business in making the best damn ribs you've ever eaten is to remove the membrane. The membrane is a thin, tough skin on the underside of the ribs. The membrane makes for shitty ribs in my opinion so it is best to remove it. To get this son-ofa-bitch off the meat, find a little unattached flap of the membrane near the wide end of the ribs, or make an little slice into the meat near a bone. Try to work the tip of your knife under it by running your knife back and forth in and pulling at the membrane. Once the skin starts to separate, gently yet firmly pull it away from the meat. The pictures below do a pretty good job of illustrating this. Using a paper towel for grip helps if your hands get slippery.


Once the membrane has been removed, it is time to season the meat. I use a dry rub with a variety of spices to build a sweet, savoury, and spicy flavour. These are approximate measurements and should make enough rub to cover both sides of two racks of ribs:

2 tbsp paprika
2 tbsp finely ground coffee
1 tbsp chili powder
1 tbsp dry mustard
1 tbsp garlic powder
1 tbsp onion powder
1 tbsp sea salt
1 tbsp fresh ground black pepper
1 tbsp brown sugar
1 tsp cumin
1 tsp ground coriander seed
1 tsp dried oregano
2 tsp chili flakes


Preheat your oven to 275 degrees. Yes, that low. Rub that spice mix all over both sides of the racks of ribs and place them in a pan that will accommodate the size of the meat. My racks were especially large and I had to cut them in half to fit into my pans, do the same if need be. I found that cutting them in half made the ribs much easier to handle and move about when they were cooked and super tender. You can be pretty resourceful when choosing a liquid to use for braising. Water would suffice, but thats pretty flavourless. I usually opt for some sort of beer, as it creates a fantastic flavour, especially when accompanied by said beer after the fact. I have also used cola, rootbeer, or Dr. Pepper in the past. This time around I used a mix of beer and cola, and it turned out phenomenally. Don't limit yourself to just beer and soda though, as you can literally use any liquid. For a more savoury flavour, use some wine, for a sweeter flavour, use some sort of fruit juice. Add enough liquid that it covers about a third of the meat. Cover the pan tightly with tin foil, and pop it in the oven for 4 hours. Don't even bother peaking, just let it do its thing and enjoy the aroma that will soon overwhelm you. Once the 4 hours is up, your ribs will be tender as fuck and will be in a very delicate state. Peel back the foil, and let them chill out for a bit. Drain the liquid or carefully transfer the ribs to a cutting board. Essentially your ribs are done now, but there is still another step to making these the best damn ribs ever. 


At this point, I like to let the ribs cool for a little while as it helps keep them from completely falling apart into a heavenly pile of meat. For best results, fire up the grill, but if you don't have a grill, just crank the broiler in the oven to high. These ribs will easily be delicious without any sauce, but frankly I like a sweet, spicy, and sticky crust on my finished ribs. I packed my ribs up and took them over to my friend Craig's place where we hit the grill, and he happened to have an amazing selection of BBQ sauces he picked up at the local ribfest, thus saving me time in making up my own. It is best to sauce up the bottom of the ribs and grill them facing upwards first, then carefully flip, sauce up the top side, and let the sauce begin to caramelize. Be attentive to the ribs and the heat as you don't want to char the sauce. By finishing the grilling process with the meaty top facing up, you have room to fit you tongs or flipper under the ribs when they are hot and reach a delicate, fall-off-the-bone state once again. You can do the same thing under the broiler as you can on the grill, just the grill adds that extra smokey, grilled flavour. 


Remove from grill, let them rest again for a few minutes, and then enjoy with beer and good friends. Goes well with coleslaw, potatoes of some sort (mashed, roasted, salad, etc), and maybe some baked beans if you got the time. 


Sorry pup, there won't be any meat left of these bones.